In the Campaign you are creating, you can add the Appointment feature which will allow your users to book the appointment using the Campaign.
Creating an Appointment calendar is very easy. While creating a campaign, you can create an Appointment using the Call to Action feature. Under Call to Action, you will see three options, Polls, Appointment, and Action Buttons. Just click on the Appointment and a new box will appear. See the image below.

Once you click on the Appointment, you will see a new box that contains various options to set up.
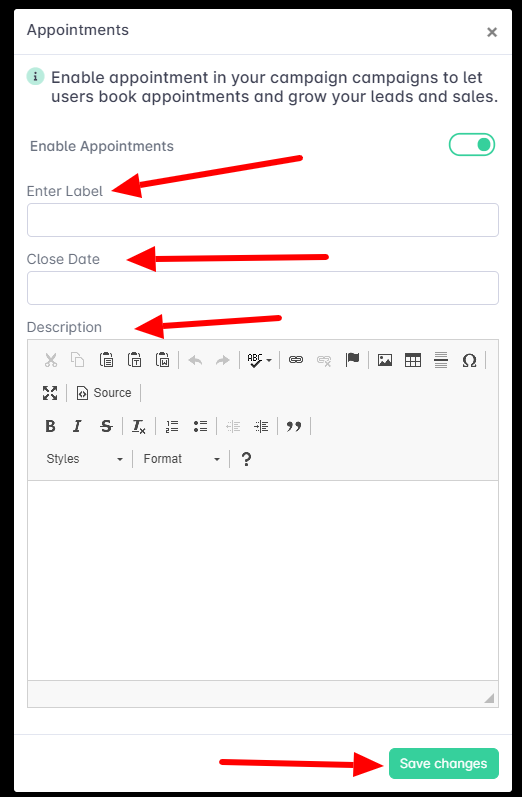
Enter Label: Here you have to type the name of your appointment. You can enter any name of your choice.
Close Date: This will be the date until which your Appointment will be active. After this date, it will be disabled automatically.
Description: This description will be visible to the users who will be booking your appointment. You can write anything catchy here to attract clients to book appointments.
After completing all the fields and enabling the Appointment, click on the Save Changes button.
This is all for this tutorial. If you want to know anything else related to the Appointment, please raise a support ticket.
Was this article helpful?
That’s Great!
Thank you for your feedback
Sorry! We couldn't be helpful
Thank you for your feedback
Feedback sent
We appreciate your effort and will try to fix the article